Creating Your First Sitecore Astro Rendering

Anton Tishchenko

Working with Astro as a frontend framework is very similar to other web frameworks supported by Sitecore. We will go through the all process of rendering creation.
Prerequisites
You need Sitecore XM configured headless website and initialized Astro website.
Creating rendering
- Each Sitecore rendering should have data to render. The format of data is defined by templates. Let’s create a template named
AstroTemplatewith 4 fields that have different types

- Next, we need a rendering. The most important fields are:
rendering Name, it should match the name of the rendering in the frontend project.Datasource location, we need to set it toquery:$site/*[@@name='Data']/*[@@name='AstroTemplate']|query:$sharedSites/*[@@name='Data']/*[@@name='AstroTemplate']to force datasource selection dialog. Otherwise, we need to check if fields arenullon the rendering level.
- Now, we can create the rendering itself. It should be named
Astrorendering.astroto match to rendering name in the Sitecore.
---
import { RichText } from '@astro-sitecore-jss/astro-sitecore-jss';
import { Text } from '@astro-sitecore-jss/astro-sitecore-jss';
import { Image } from '@astro-sitecore-jss/astro-sitecore-jss';

export interface Props {
  route: any;
}

const { fields } = Astro.props.route;
---

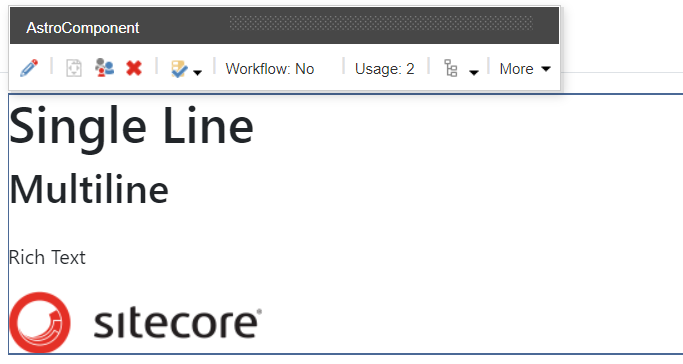
<div>
  <Text tag="h1" field={fields.SingleLineText} />
  <Text tag="h2" field={fields.MultiLineText} />
  <RichText field={fields.RichText} />
  <Image field={fields.Image} />
</div>
- We need to restart the Astro node server to renew the renderings factory. It has a hot reload on changing renderings but doesn’t have a hot reload on adding new renderings.
- Add a rendering to the allowed controls in the placeholder, where you want to use this rendering
- Add rendering to the page

- Add data to the fields

- Save the page
Congratulation! You have created your first Astro rendering.
